Certificates can be used to reward the learner when they complete a quiz or course.
Create and Edit Certificates
Certificate creation is a bit fiddly and requires a little bit of code. If following your nose doesn’t work, you’re welcome to ask for help. Contact info@communityheart.co.nz. We’ll be happy to help create the certificate for you.
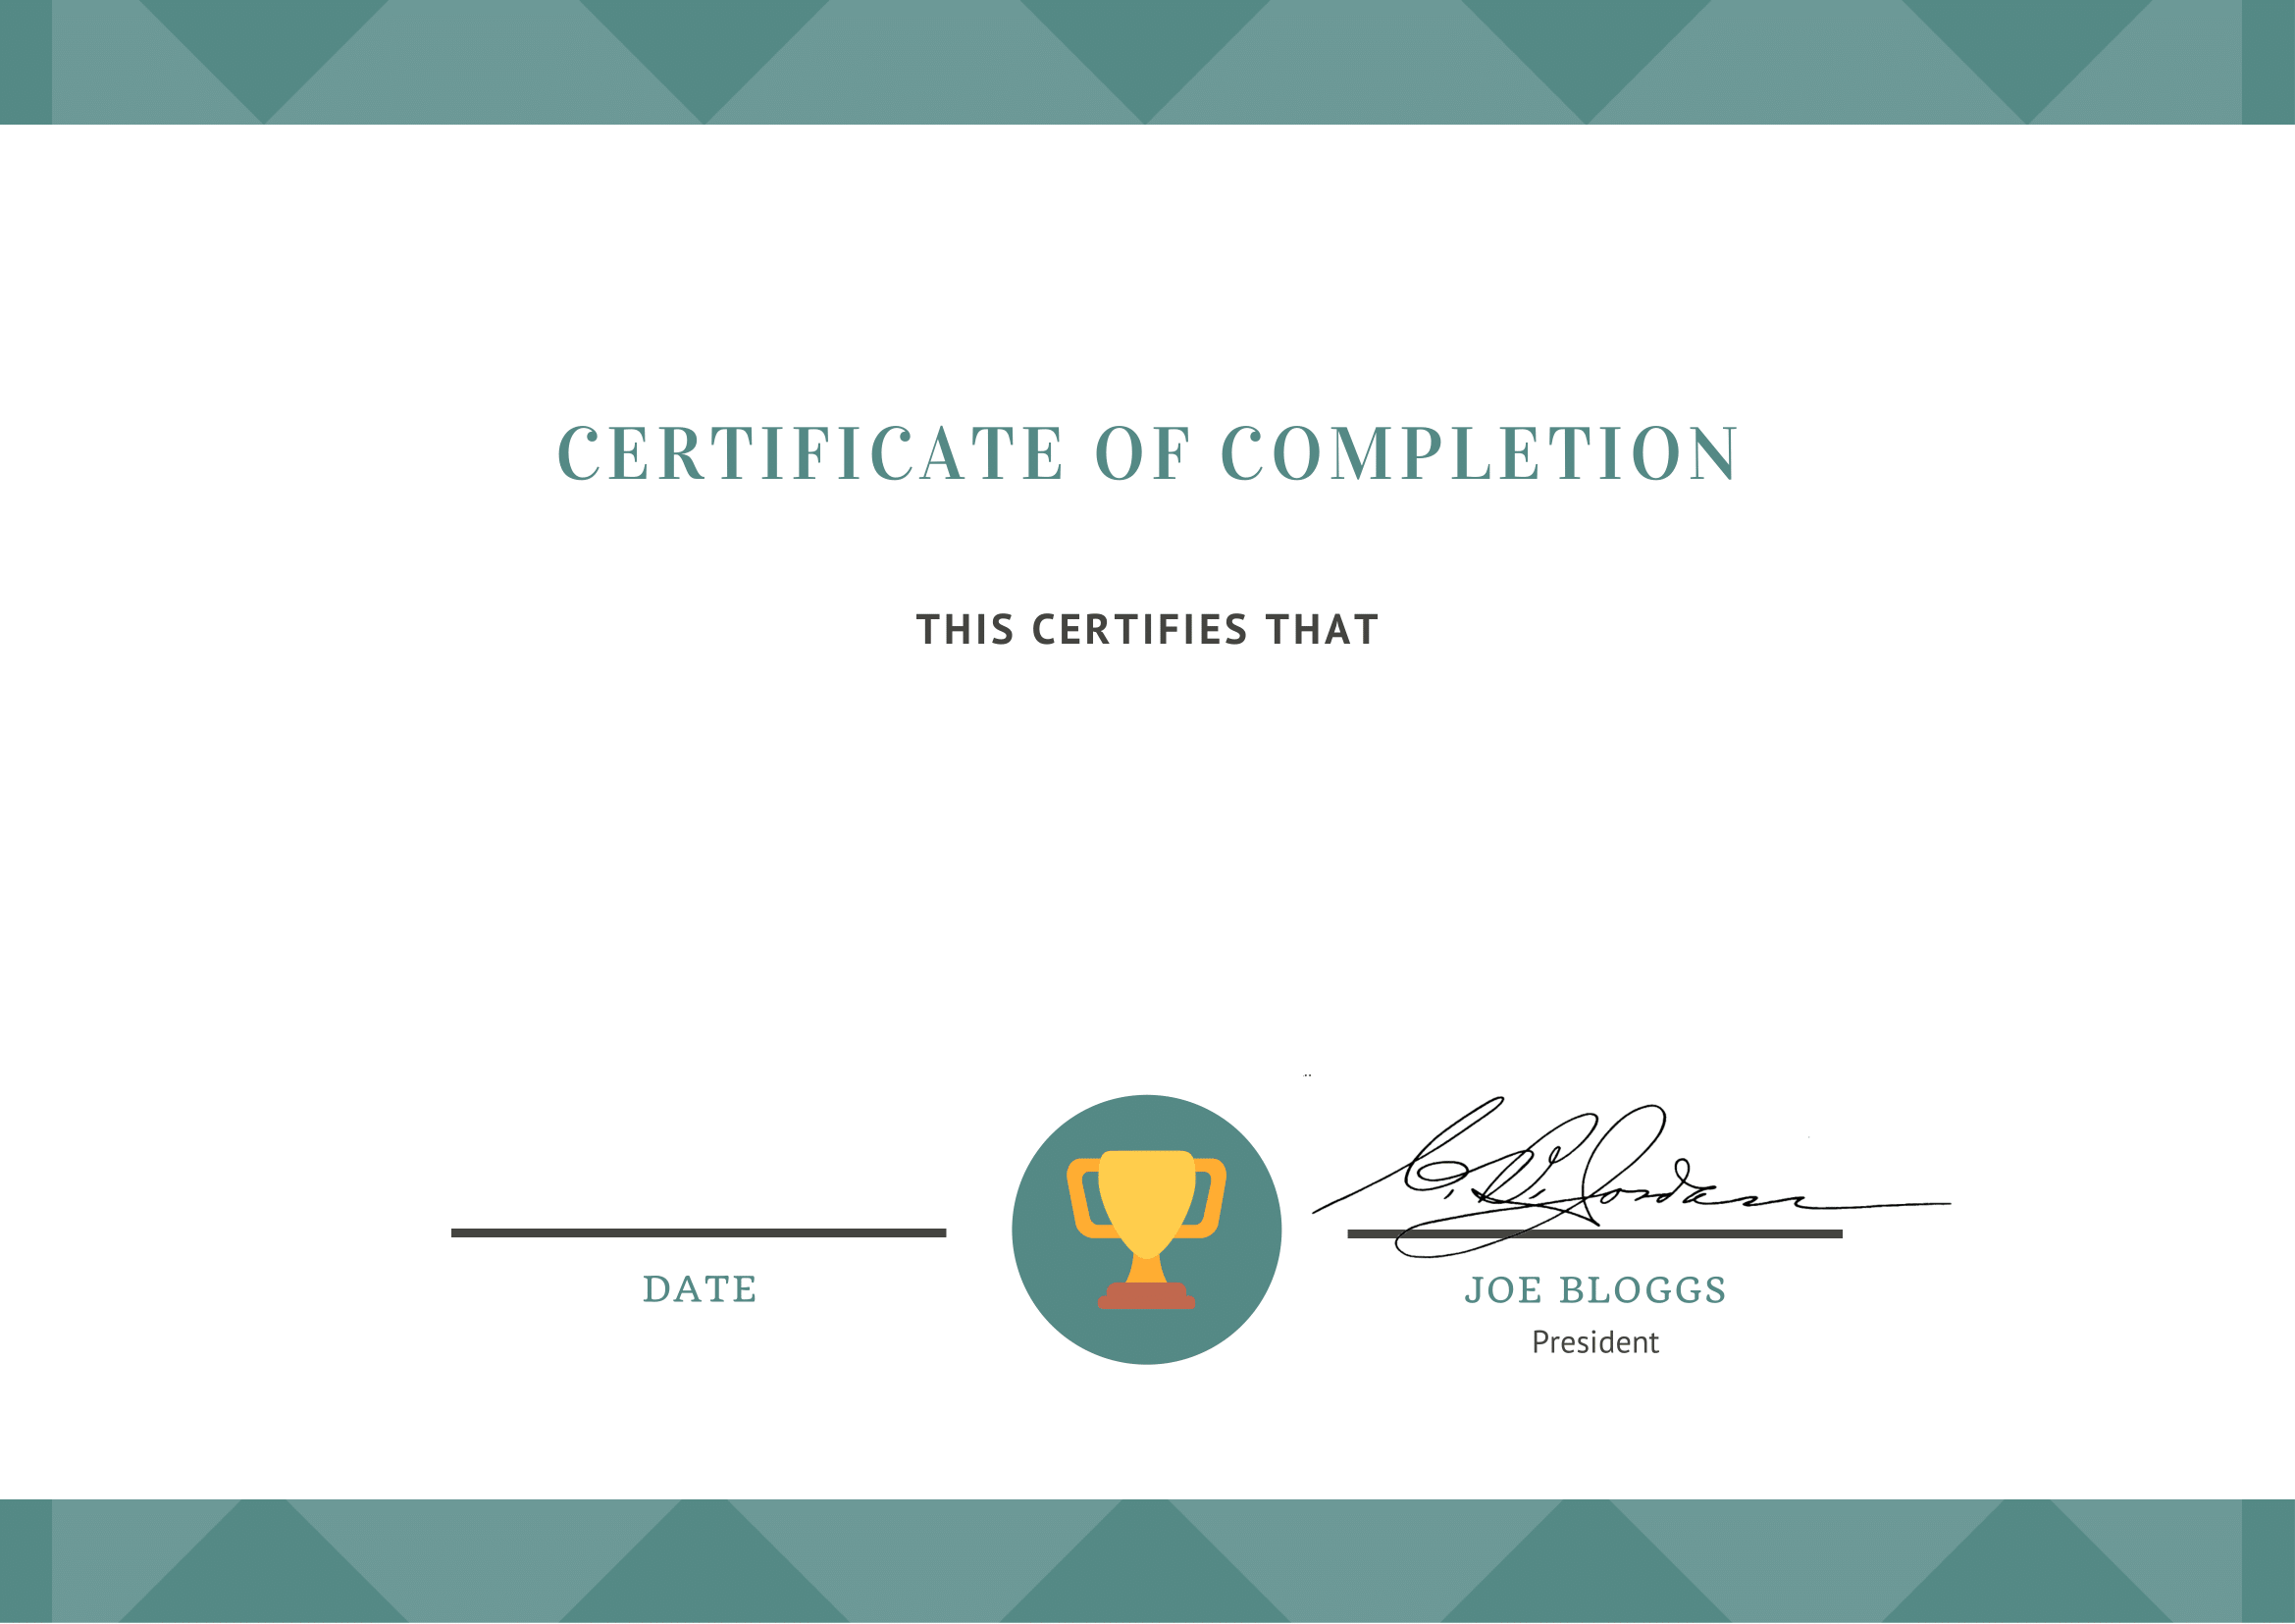
The normal features of a certificate are:
- The name of the course
[ courseinfo show="course_title"]
- The name of the learner
[ usermeta field="first_name"] [ usermeta field="last_name"]
- The date the course was completed.
[ courseinfo show="completed_on" format="j F Y"]
These elements are inserted via the codes above into the template, with an image background.
Notes:
- Feature Image should be the same as the PDF Page Size setting (usually A4).
- The best way to preview a certificate is to assign it to a course and complete the course.
- Certificates are generated on the fly when a user requests them. That means that any changes made to the certificate template will apply immediately, the next time the user requests their certificate.
View Certificates
You can view your available certificates from the left-hand menu: go to Your Courses > Certificates. Any of these can be assigned to your Course – that is, a learner will receive the certificate when they complete the Course.
Assign a Certificate to a Course
Assign a certificate to a Course when editing a Course, by going to the Settings tab. You can choose your certificate from the dropdown there.
- A single certificate template can be applied to many courses. (There’s no need for a certificate for every course, unless you want a different look for each certificate.)
Assign a Certificate to a Quiz
As with assigning to a Course, go to the editing page for a Quiz and choose the Settings tab. You can choose your certificate from the dropdown there.